Coastal Farmhouse Dresser

February 28, 2015,

{Hi Friends} 

Here is the reveal of what was peeking in the mirror from my other post.

A coastal farmhouse dresser Pulled from the trash


Can you believe someone would throw this away? The slides were missing from the two bottom drawers.  I'm guessing that's why they didn't want it.  Other than that this piece is in great condition.

I don't think it was ever used. 

Sorry I didn't take any before pictures.


When my husband and I found this dresser it was practically buried in a heap of snow and the drawers were piled next to it.


My husband installed new drawer slides. Now we have a really nice piece of furniture in our entryway. I am using it to store all of our winter items like hats, scarves, and gloves. In the summer I'll use it to store beach towels, flip-flops, and suntan lotion.


As you can see from the way I styled the top that I have the beach in mind!


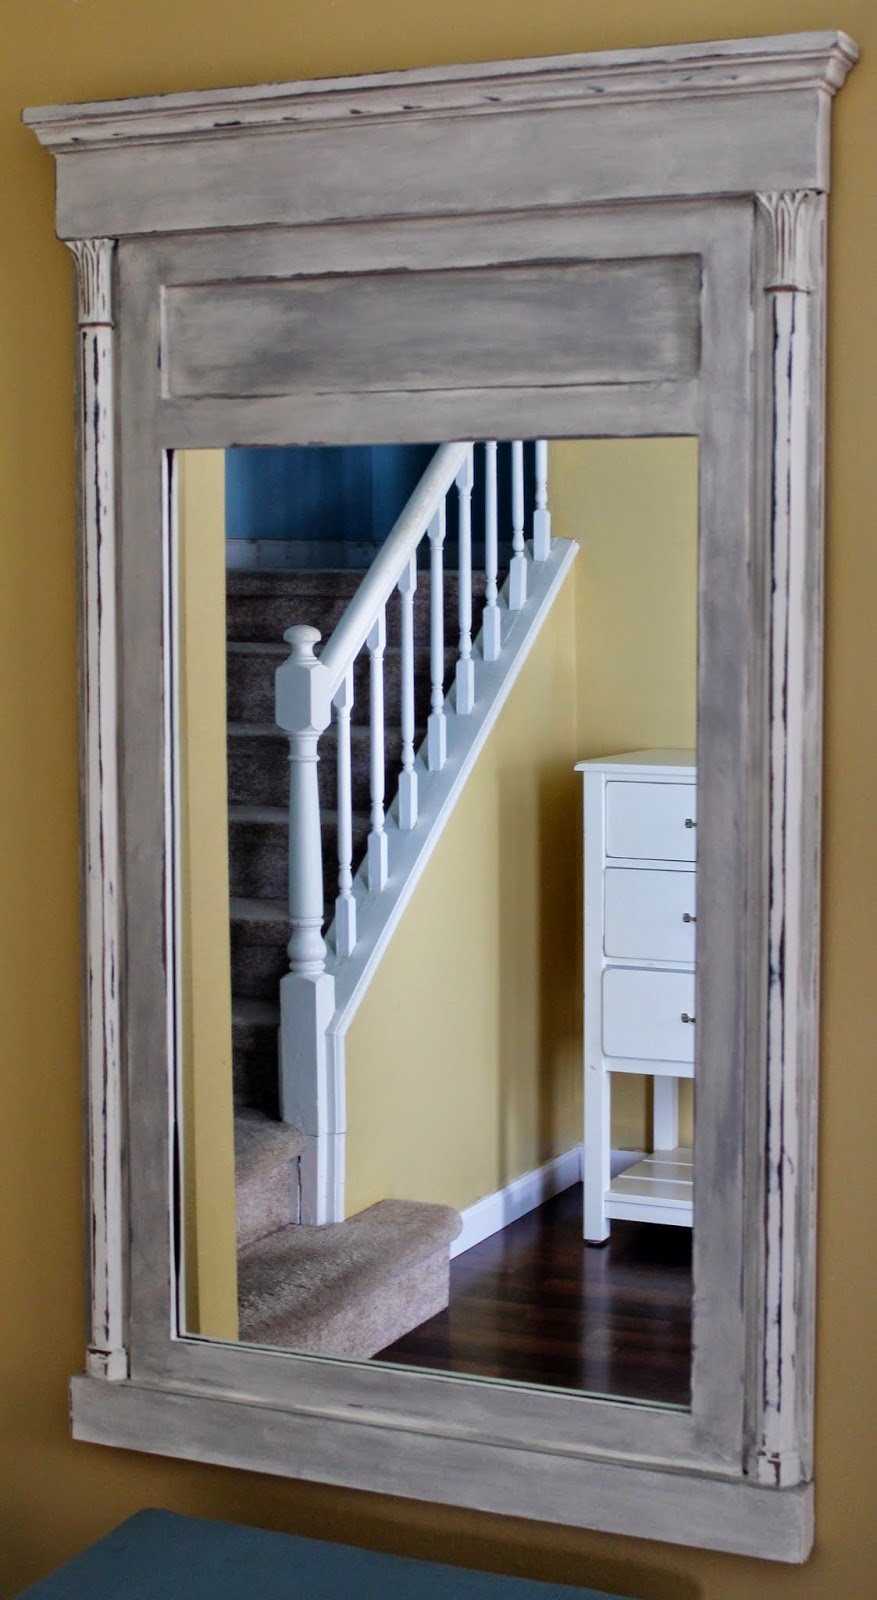
 The sweet print above the dresser is by Jacqueline Penney.  
The frame was made out of a door from an entertainment center.  If you are interested in how I made the frame you can read about it here.


Plastic vegetable or fruit containers purchased at the grocery store are great for storing yarn & twine.


It is easy to upcycle these colorful containers.  
Just peel off the labels and place your choice of yarn or twine into the containers and thread through the holes.


When you need a piece of twine, simply cut off what you need.  


Two rolls of yarn fit nicely in the large container.  


These containers are clear so you can easily see what you have. 


You can even stack them!

Hey, there everyone I hope you're staying warm.  Yesterday the Northeast was hit again with another snowstorm.  Wind chills below zero....burrrr.   I am definitely staying indoors doing a little painting.


Today I'm sharing an easy recipe for chalk paint.  
This is my first time using chalk paint and I really like the results.    


 BEFORE

I purchased this mirror a few years ago.  I love the shape and the details of the mirror but not the color.  A bit too dark for my taste.  


I am a beach girl at heart and I'm longing for warm summer days..  I wanted to change the look of this mirror and give it a coastal vibe.  I thought of the colors of gray and white, the kind you see on wood decks and oceanfront homes off the coast of  Long Island... 

My inspiration: Pictures I took a couple of years ago at the end of our street 


Supplies
Two sample latex paint colors: cream delight and feathered fern.
 purchased at Lowe's for $2.98 each.
gray craft paint had on hand
medium size paintbrush
sandpaper
palm sander
rags for wiping
water

I mixed the paint sample colors together to achieve one cup.

Here is how I got my coastal weathered look using this:

CHALK PAINT RECIPE
1 Cup Latex Paint (one sample container = one cup)
1/4 Cup Baking Soda
Mix Well
Apply Two Coats
Two coats cover it nicely

I did not sand before I painted.  Look how nice the paint covered up the brown.

After the paint dried I gave it a coat of gray craft paint mixed with a splash of water.  I brushed it on then wiped it off until I reached my desired color of gray.  After that dried, I went over the entire piece with the palm sander scuffing it up and making it smooth as butter.  
I left the columns white and sanded them so some of the black and gold show through.

This mirror weighs a ton...so with the help of my hubby, we hung it in the entryway of our living room.  In the mirror, you can see a sneak peek of a roadside find my husband found.
  You will not believe what someone threw away.  Stay tuned for that upcoming post.


As it gets closer to summer I will decorate around it with a beach theme.

But for now, it will be winter boots and warm scarfs.


Even though I'm longing for the beach, our Molly girl would much rather play in the snow then swim in the water. 


WITH LESS THEN A WEEK AWAY FROM VALENTINE'S DAY I THOUGHT I'D PUT TOGETHER A COLLAGE OF RECIPES AND CRAFTY IDEAS... SOME ARE FROM MY ARCHIVES AND SOME ARE NEW...SO GRAB A WARM BLANKET, SOMETHING WARM TO DRINK AND CLICK AWAY MY FRIENDS.     


UPCYCLE INSPIRATION


HEART WARMING RECIPES


I hope you were inspired by some of my ideas!

{HAPPY VALENTINE'S DAY SWEET FRIENDS}


{Hi Beautiful Friends Hope You Are Doing Well}   

Valentine's Day is a few days away and there is nothing like a colorful red and white banner to brighten up the dark days of winter.  


For Valentine's Day, I like to make something special for my one and only kiddo.  Last year I made a black and white banner using vintage sheet music.  This year I upcycled red and white shopping bags to make a heart banner.   

I used two shopping bags from two different stores to make this simple and whimsical heart banner. 
  

When I was finished I hung it in the window of my daughter's bedroom.
upcycled-shopping-bag-heart-banner-love-my-simple-home


Any paper shopping bag will work for this project...It is quick & easy to make.
Plus it's a fun way to upcycle your unwanted shopping bags.

The first thing you need to do is dig out your bags.
 Then choose the bags you want to use.  

Can you guess which bags I chose?
I left a hint on one of the bags.

Next, you are going to carefully pull apart the bag.  Flatten it out and trace your hearts.
If you are really talented you can draw the hearts (freehand).  
Me... I'm not that talented, so I needed help with the store-bought hearts below.

I randomly placed the hearts on the bag, traced and cut them out.  It is sort of like making a collage.  Remember making those when you were a kid?  I think that's why I had so much fun making this banner.  It definitely brought out the child in me.


After the hearts for the banner are cut use a hole puncher to cut two holes on top of each heart.
Then pull the ribbon through the holes. 

I cut some letters off the bags to personalize the banner with my daughter's name. 
Oops...  I misplaced the A and the E of her name.
 It's funny when I took the picture I didn't even notice what I had done.
 I'm pretty sure I got it right on the banner.


Yes! I got it right.  It's the heart on the far left. 

The banner hanging on the bench is the one I made last year for Valentine's Day.  
You can read how I made that here.


I  made a small change and draped the vintage music banner under the red and white banner.


Are you still guessing??  

Or do you know...


Hint...... part of the store names are on the hearts.

Ok, are you ready?

Did you guess which store bags I used?

Drum Roll Please.....


If you guessed Aerie and Victoria Secret...................

YOU ARE RIGHT!! 

Have a fun week.....

© love my simple home · THEME BY WATDESIGNEXPRESS