Welcome to week four of the One Room Challenge.  If you need to catch up you can visit 12 & 3.  I'm excited today because I purchased the floors for our guest bedroom, but before we get to install them we need to make the room ready by installing all of the trim work.
.
Hi friends, the weather has been gorgeous here in New York and that means I get to work outside on a furniture project!  Did you know that under peeling and cracking veneer there is good wood? Veneer lifts and cracks from moisture and can be removed completely with a wet towel and a metal putty knife. A few years back I picked up an antique night table on the side of the road. (You can read the posts here Shabby Roadside Find and Shabby Table & Petunias)  There was some peeling and cracking of the veneer on the top and bottom, but the overall piece is solid wood and has gorgeous carvings on the legs.  I thought maybe I could give this piece some love with a quick sanding, but the damage was worse than I thought, so the veneer needed to come off.


Hi, friends welcome back, it's the third week of the One Room Challenge!  In case you missed last weeks post here is the before and if you'd like to check out my design plans for this makeover you can find that here.

This post contains affiliate links


We are in week two of the ORC  (catch up on week 1 here) and things are moving along.  Today is prep day, the dreaded part of any makeover.  If I had a magic wand I would totally skip this part and go right to the fun part of decorating!  I have to remind myself that to get to the pretty you have to fix the ugly, so I better get started with this makeover, because week 6 will be here before I know it.

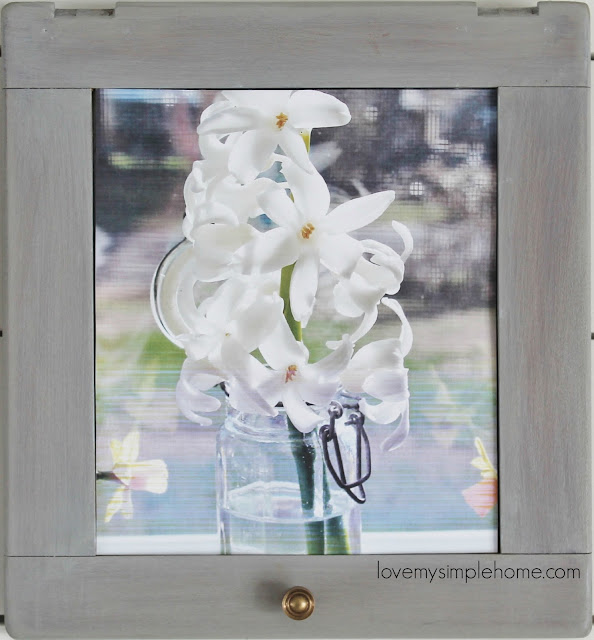
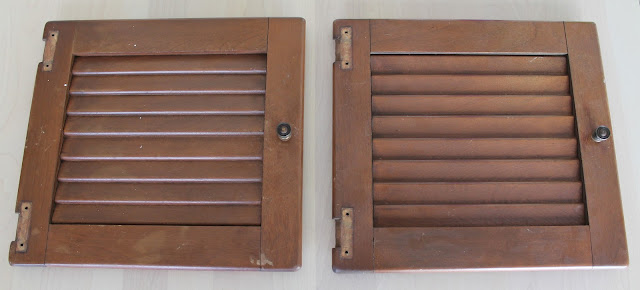
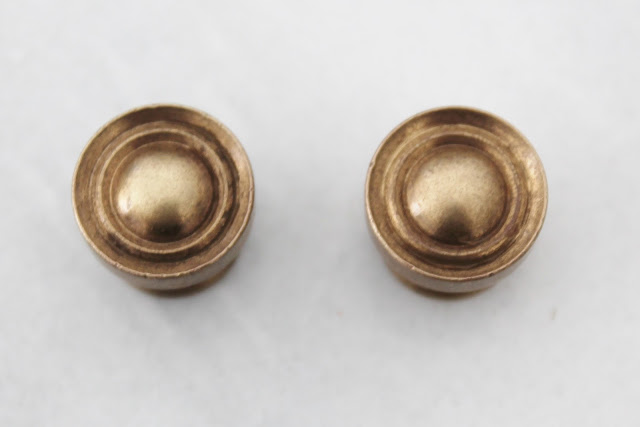
I love adding metals to my decor, but over time tarnish is inevitable.  When I repurposed my cabinet doors into frames the knobs on the cabinets were tarnished.  Now don't get me wrong I love rust and tarnish, but for these frames I wanted the knobs to gleam.

love-my-simple-home


love-my-simple-home

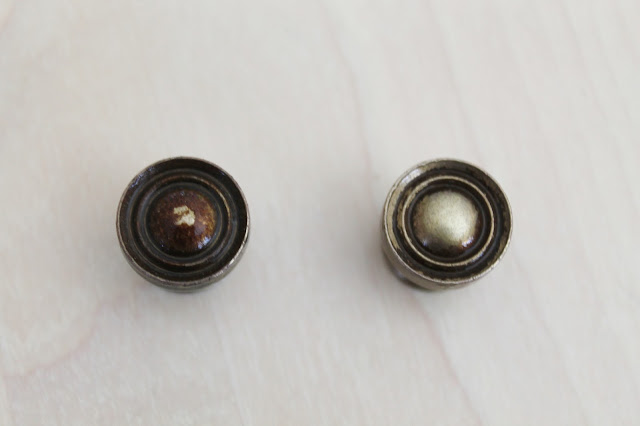
  Here is a before picture of what the knobs looked like before I cleaned them.


BEFORE

love-my-simple-home

Just the thought of putting on rubber gloves and using harsh chemicals to clean these babies made me shiver.  So I decided to go all natural!  I grabbed a  jug of white vinegar and a box of baking soda and made a solution of white vinegar, baking soda, and warm water.

love-my-simple-home

 First, I poured a small amount of warm water in a bowl and added the knobs and the screws. 

love-my-simple-home

Next, I poured a small amount of vinegar in the bowl and added the baking soda (no measuring needed)  just enough so it didn't bubble over.

love-my-simple-home

All I had to do was sit back and watch the solution do its magic. I did a load of laundry and washed my dishes while these were soaking. The longer you leave them in the solution the cleaner they will be.  Look at those lovely bubbles doing the job for me!

love-my-simple-home

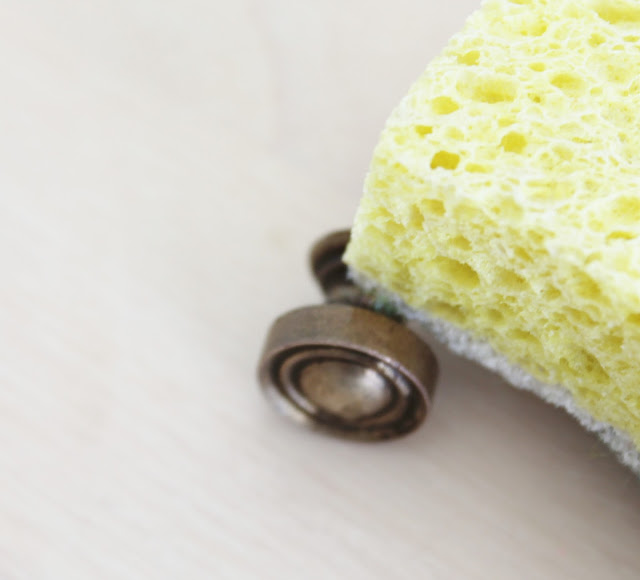
After about a half hour I took the knobs out of the solution and wiped them off with a damp sponge.
I used a soft toothbrush to get into the nooks.

love-my-simple-home

Look at the before and after.  

love-my-simple-home

Now, look at these gleaming beauties! 
This is after I used a soft cotton cloth to polish them; old T-shirts work well!

love-my-simple-home

Here is the full tutorial on how I repurposed cabinet doors into frames:
love-my-simple-home

Looking for all-natural cleaning recipes?  Click on the link below to get two that I use in my home, plus a free cleaning recipe printable and free printable labels!

love-my-simple-home

Hi friends, I'm so glad you are here!  This is my first time as a guest participant in the One Room Challenge and I couldn't be more honored to take part in this event. In case you're not familiar with The One Room Challenge, it is a bi-annual event put together by Linda at Calling It Home. Over the course of six weeks, bloggers are challenged to renovate, remodel or makeover a room while documenting their progress along the way.


Hi friends,  Happy April, I hope you're having a lovely weekend so far. This month's calendar features a cheerful photograph of mini daffodils.  Feel free to print the calendar using the link below this sample.  I printed mine letter size and have it hanging in my workroom with all my to-dos written on it.  I hope you enjoy yours.  Let me know in the comment section if you have been using my free printable calendars and if you like them. I would love to know!


Please note: All printables and downloads designed by Love My Simple Home are for PERSONAL USE ONLY.  Please do not alter the file or claim it as your own.  This file is not intended for resale, nor are the printed versions of this file.

© love my simple home · THEME BY WATDESIGNEXPRESS