
I used the door to our entertainment center to make this frame for the print I purchased last week. It is finished and here is how I did it.


First I brought it outside and gave it a sanding. I used the palm sander hiding behind the paint can.
I used Benjamin Moore paint (White Linen) leftover from another project, and wood glue to cover-up the holes in the door.
Remember this is where it came from
I reused just about every piece of this entertainment center

The next step was to take the rubber off the glass. Cover the holes and paint them.
 I left the small black hardware on the door. I thought they would be perfect to use as the picture hanger. After it was painted I was ready to put the print in and hang it with this wire.
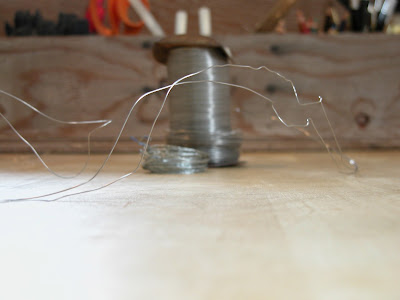 Once the wire was in place I didn't like the way it looked because you can see it hanging off the frame. So I needed a plan B. Looking around my office... I spy with my little eye TWINE.
There it is sitting on the corner of the draw turned shelf.

Next, I knotted the twine on the hardware. I found the knobs from the drawers and door that I took off the entertainment center and painted one of them.

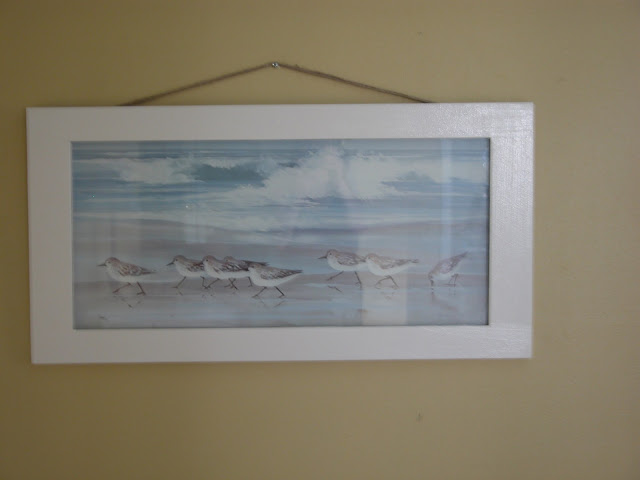
Here it is on the wall. I glued the knob on the screw.


First I brought it outside and gave it a sanding. I used the palm sander hiding behind the paint can.
I used Benjamin Moore paint (White Linen) leftover from another project, and wood glue to cover-up the holes in the door.
Remember this is where it came from

The next step was to take the rubber off the glass. Cover the holes and paint them.


There it is sitting on the corner of the draw turned shelf.

Next, I knotted the twine on the hardware. I found the knobs from the drawers and door that I took off the entertainment center and painted one of them.

Here it is on the wall. I glued the knob on the screw.


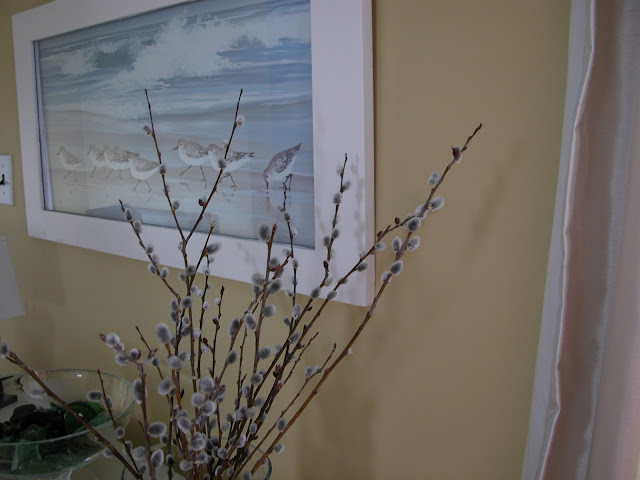
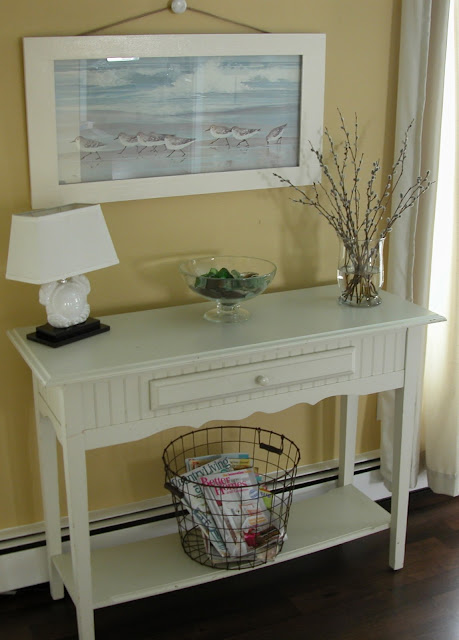
So there you have it. How I changed the door into a frame for this sweet print that makes me smile.


