{Hello}

Hope you're enjoying your summer!

Can you believe it's the end of July already? 
What have you been up to this month?

 I've been spending time at the beach soaking up the sunshine!

Plus

 Entertaining Family and Friends.

As you know I like to keep things simple around here.  
That includes setting the table for entertaining.
I used flowers and lemons and kept the arrangements low.

 sunny yellows and ocean blues give the table a beachy feel.


The delicate flowers are from our garden.  Does anyone know what they are called?  


To keep the table setting light and airy I placed the flowers in clear glass containers.
While three ceramic seashell candle holders hold the lemons.


IN THE KITCHEN

I added extra lighting by placing antique crystal lamps next to the sink.
They were my grandmothers and they bring back happy childhood memories.

My daughter and her friends baked brownies.
Little did they know I was going to use them as props to take this picture.


On the window sill, I placed beach glass in mason jars and added seashells found on the beach.


Kitchen towels & napkins are stored in the picnic basket.
  The basket also serves as a catch-all for quick clean ups when guests come over.
  I toss any clutter that's sitting on the kitchen counter right in the basket.
(Bye Bye Clutter)

A framed picture of my daughter leans against the backsplash.
 The frame was gold when I bought it.
 I gave it a small makeover using white paint & a light sanding.


Beach Glass in Mason Jars

Shiny Crystals That Reflect The Sunlight


Fresh Flowers

Good Food, Friends & Family


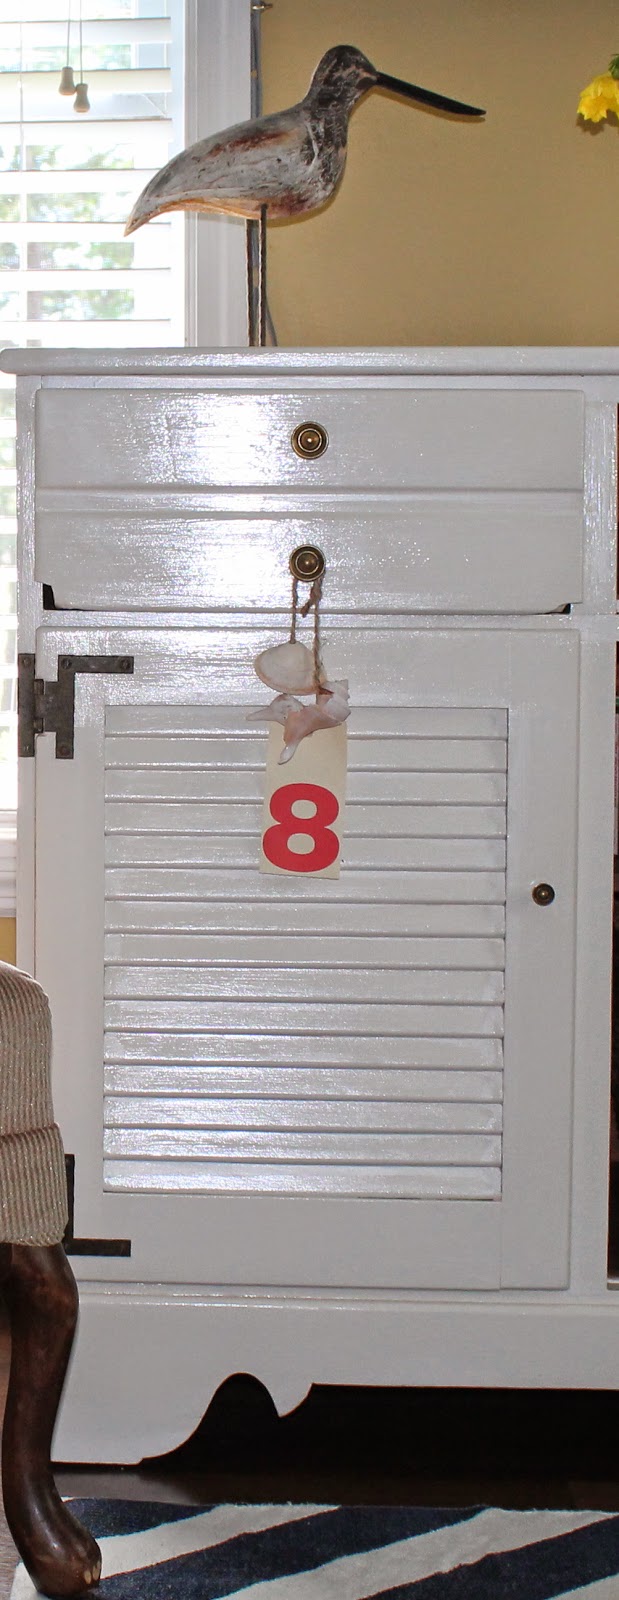
If you follow my blog you might remember the scale I scored at an estate sale for $7.00.
 If you like you can read about it here
For me, gathering friends & family at home in the summer is all about keeping it 
Simple, Relaxed and Fun. 


Hi Friends


Remember my shabby little table?  
I dressed her all up with Petunias.


This post contains affiliate links

I found this shabby beauty on the side of the road!


I decided not to paint it.  I love its shabby simplicity.


I used pink petunias and art books to dress it up instead.


I love how the flowers add a pop of color.


The drawer acts like a vase or a small window box filled with small jars of water to keep the flowers fresh.


On the bottom shelf, I stacked art books with drawings by Picasso, Manet, and French Impressionism.


Keeping it simple with the sunshine and pretty flowers.

Pretty Pink Wreath

July 18, 2014,


HELLO, HAPPY WEEKEND!


Hi friends here's a simple weekend project to add color to your front door.

Make a colorful summer wreath using a bouquet of silk flowers


I purchased a $5.00 bouquet of silk flowers from Walmart. 
FYI...... I use a bouquet instead of individual stems because you get more bang for your buck.
When making wreaths choose flowers that are in season.  For example, I chose flowers that you would see during the summer season.

I placed the bouquet on the table and cut each stem leaving about 3 inches.

Please do yourself a favor...... use wire cutters. 
 I used a scissor.  
I ruined the scissors and cut my fingers. Sometimes I'm stubborn about taking the time to drive to the store for the correct tools. I rather just keep plugging away until it's done.  
In this case, I wish I hadn't been so stubborn.  
After all ----this was supposed to be an easy project..so why take time out to go to the store... right? 
(that's me thinking)

  I am putting wire cutters on my shopping list right now.

This is what you'll have after the stems are cut

Now on to the fun part....decorating the wreath and hanging it.
I used the same wreath that I used for the 4th of July.

I pushed each stem through the wreath and tied a wire burlap ribbon at the top and hung it on my door.


Enjoy the weekend!


Hello Friends

Welcome to another decorating with seashell series
          I created a decorative storage box using..... yes you guessed it 
SEASHELLS 

Inspiration comes in many forms 

Mine happened to be in the form of a cardboard box 

We ordered take out food the other night and this is the box it came in. I thought if the box was sturdy enough to hold a lot of food then it would be sturdy enough to use for storage. 

AND SO.........

I used a roll of burlap with the same width as the box.  To cover the edges and give it a finished look I used leftover fabric from my no-sew curtain trim project.  You can read about that here.


First I wrapped the burlap around the box gluing each corner as I went around.  Then I did the same thing with the fabric trim.
                                                  

Next, I chose 9 shells.


I glued around the rim of each shell

And placed three shells along the side of the box on top of the burlap.  

Hold firmly for a few seconds so the glue adheres to the burlap.


And there you have it; a simple way to decorate for summer using an empty take out food box.

I used it as a planter with a zinnia inside.


Anyone getting married over the summer?
 This would be a great DIY project for a rustic wedding centerpiece.


My poor zinnia needs some TLC


I think summer decorating should be simple and this box reflects just that.  I like how the print on the box shows through the burlap.  If that is not your style you can double up on the burlap or you can paint the box.

Here are some other ideas on how to use this box:

In your kitchen to store plates, towels, napkins, or bottles.  In the bathroom to store toiletries, bathroom tissue, or stack towels inside. For the office, I'm thinking it could hold printing paper or mail. How about your craft room to store fabric, ribbons, paint, papers. In your child's bedroom or playroom to corral toys or books.  
                                  
                                   I hope I inspired you to think outside the box!

Shabby Roadside Find

July 10, 2014, in

Hey, friends...Look what I found in the Trash


Yes, this shabby side table was someone's trash and now it's my treasure.  I am so excited to share this with you. I rescued this piece while driving my daughter home from summer camp.  I pulled over to the side of the road and picked this baby up and put it in my trunk.
I am absolutely in love with it.
I think it has a French style to it.


On the downside, it has a lot of water stains and is in poor condition but it is a solid piece and it's pretty too.

I love the raw wood..... it has never been painted.


 I love the details on the legs and the feet


It has a drawer that opens and closes with ease.  
It is missing some of the detail around it but I don't mind.   

The drawer has a pretty wooden knob


I am in love with this shabby beauty!
Hi, friends, it's officially beach season and you know what that means...time to decorate with seashells!!.  I have a large collection of seashells that I display in a large basket.  This year I decided to use them in my summer themed decorations.


The inspiration for this simple project came from the photo below.
 A picture I took of my daughter collecting seashells. 
This photograph sits on top of an old hutch that I repurposed into an entertainment center.  It has pretty brass knobs that I hang decorations on.  I had a number tag hanging on one of the knobs.  The number resembles the numbers you see on buoys.   

This is all you need to make this project:
seashells
twine
scissors
tweezers
number tag
{you can read here how I made my free number tag}


First cut a piece of twine about 12 inches.
Then thread the twine through seashells with holes and use tweezers to pull through.
When the seashells are lined up on the twine add the number tag and tie them all together.


Then hang on a knob.

I hung a shell from the basket that holds the Wii games.


I like how this small project makes a big impact for a nautical look.


© love my simple home · THEME BY WATDESIGNEXPRESS